Thursday, October 23, 2014

My first mixed media experience

I always love looking at all the mixed media canvasses here and there and am a big fan of Kelly Rae Roberts. And....I have always wanted to try some mixed media myself. I know that one thing I love about scrapping the way I do it is that I have total control of the outcome. Something you have NOT when you do mixed media. Well, maybe you do and I totally have no clue what I am doing am just a girl with no mixed media experience.
I started with speding a small fortune on supplies: Gesso, matte medium, canvasses, brushes. I decided to use my scrapbooking acrylic paints and mists, which I actually have a lot...... (shame shame)

I looked at some of the pins on my Mixed Media Board on Pinterest and decided I should not let myself get overwhelmed with all the techniques and tutorials, I was just going to start. 

Supplies:

Gesso: Liquitex
Matte Medium: Liquitex
Glosse: Ranger
Paint: Making Memories, Delta Ceramcoat
Stickers: Doodlebug, Tumblebeast
Glitterglue: Stickles
Chipboard: Enmarc Crafts
Acetate: Heidi Swapp
Twine: Divine Twine
Misc: Wooden stars, wooden heart, canvas

Non linked manufacturers are not longer existing...... :(


Thanks for coming over and taking the time to look at my work, it is really appreciated. 

Saturday, October 18, 2014

My favorite photo of all times

I have finally scrapped a photo that I wanted to scrap for such a long time. When I showed Dear Son the photo he said: Hey, that is me, but where is that? All those weird looking colours.
I started laughing while telling him the little gopher in the photo is actually his dad and it was taken on a plane flying from Toronto to Amsterdam in 1971.
Love that pic where Dear Husband is sleeping with his sailor ourfit (doesmn't that look absolutely adorable? And boy those colours on the plane, talk about retro.......

I used quite a bit of stash for this and made it look fancy with the new trend in scrapbooking land: GOLD! 
Here's what I came up with: 

CS: Bazzill
Stickers: Pink Paislee, Skippings*, Jenni Bowlin
Rub-ons: Kaisercraft, Scenic Route*, 7Gypsies*
Misc: bakers' twine, staples

* the non-linked manufacterers are no longer in business 


Thanks for popping by, make sure you do some crafty stuff this weekend and just smile..........

Wednesday, October 01, 2014

Anything goes....

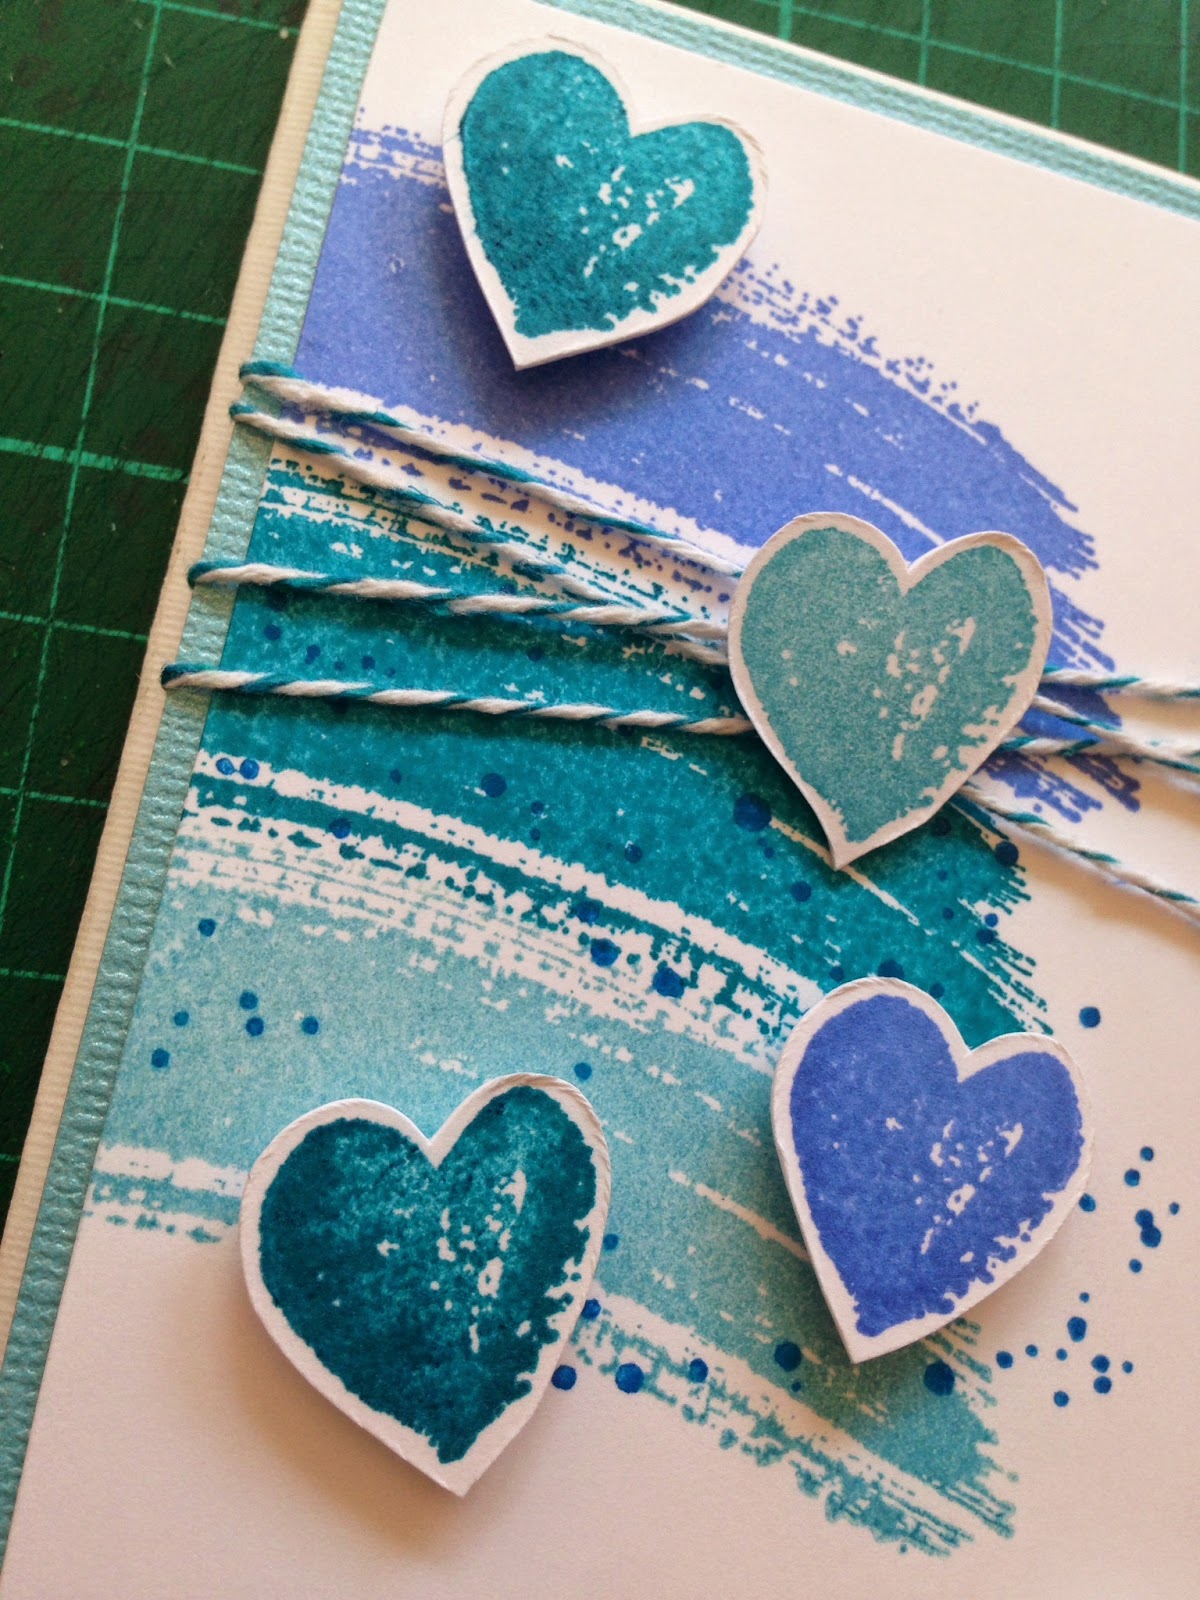
How much fun can a challenge be where the only challenge is: anything goes? Well, harder than I thought and expected. Again I made a card, this time for a crafty friend who need a little pad on the shoulder. 

I am posting this for the challenge over at Su-perchallenges. I always loved blue, no matter what but with card I seem to grab my blue inks EVERY time. Sorry if it gets boring......
And somehow the rhinestones in the pics look kinda green but they are NOT, they are exactly the same color as the turquoise ink. Guess my camera played tricks there.


Misc: Rhine stones

Thanks for stopping by again, enjoy hump day today and make sure you do some crafty stuff today! 


Thursday, September 25, 2014

Let's Scrap Sketch

As for years Wednesday has been the day for the new sketch release at Let's Scrap
As an administrator I have access to all the coming sketches and sponosrs but it alsways the coolest to see it on the blog (formerly the site) and combined with all the awesome work the design team has done.
I got ot play with this weeks sketch (I never play 'ahead', so when it comes out I scrap it, not any earlier) and somehow it did not work out. I do not know if it was the p per, the title or even the pics. It just does not appeal to me, not at all. I did use lots of stash, so that is one good thing about it. And the photo's I scrapped are from 2009, also a good thing, not only scrap new ones. 
Even taking pics of the layout did not work. I guess it could also be a bad day for anything...... makes you wonder.
But hey, a layout is a layout so I am posting it and putting it in the draw.

So after seeing my failure you might want to hop over ot the Let's Scrap Sketches blog to see what our amazing design team did with the sketch.


CS: Bazzill
Stickers: Echo Park, Doodlebug
Misc: sewing machine

The title was cut with my Silhouette

No that I take a look at the layout again. I think I even used two different lines of paper. Both from Cosmo Cricket but different. See; today was not a good day to scrap


Thanks for stopping by, enjoy the Friday and the coming weekend!

Tuesday, September 23, 2014

Sketch and a color challenge

I decided to make a year worth of cards. So cards for all the people that celebrate their birthday, anniversary or wedding and make some extra ones for sick people and even a condoleance card. And you never know when someone gets pregnant or has a baby so I will include those too.

For this card I used the colour challenge from Su-per Challenges and the sketch from Let's Scrap. I flipped the sketch because somehow it seemed better that way. 

I already have a recepient in mind for this card......


Stamp: Stampin' Up
Embossing folder: Darice
Sequins: Making Memories*
Twine: Divine Twine
Misc: Burlap, pin

Manufactureres marked with a * are not in business anymore (unfortunately) 


Thanks for popping by and enjoy the rest of the week. Make sure you get some crafty thing done!


Sunday, September 21, 2014

Shoebox turnes into caddy (photo heavy tutorial)

I am a complete sucker for caddies, baskets, containers, boxes and anything that holds items. Thanks goodness I am a scrapper so I need a lot of those to store all my supplies. I have the cutest white metal containers that have pink numbers on there. They store my bling, my stamps and my glue stock. I love the two galvanized wired baskets with handles that store my wooden embellishments and my made cards.
A few weeks back I came acroos a tutorial on Pinterest that showed how to make a caddy from a single shoebox. Right up my alley as you can imagine. 
So I Pinned it.  I thought I Pinned it and went looking for it after we bought our little lady some winter boots. The perfect box for a caddy. But my Pin was nowhere to be found. So I had to rely on my photographic memory................ uhm, well, just on what I remebered seeing while Pinning it. Or actually; not Pinning it. Well, you get the point. 

I made photos of the work in progress so you can see what I did and try it yourself when you have a shoebox ready. I apologize for the quality of the photos but I took them in a kind of dark hallway and did not turn on any light.............

First you take the box (do NOT put the lid away, you will need it later!) and measure the long side of the box. In my case it was 30cm (about 12"). I marked the middle both on the top and bottom of the box and  used that mark as the middle of my 10cm..... 

You lost it already right? 

You wil have to cut a triangle out of both long sides. Trust me, the photo will clear this all up. I measured the long side and came to 30cm. I divided that in 3 so that the finished product would look like a caddy. That is the 10cm I was talking about before.  So you divide the box length in three and that is the amount you will need to cut out. So on my box: I measured 5cm from the middle to both sides and cut it to the mark on the bottom of the box (the mark that shows the middle)
Your box will now look like this:  

Now you need to fold the box in half, You can score from the bottom of the triangle to the bottom of the triangle across the box. What I did was this. I put my ruler in the box en then folded the box with the ruler in there. No fuzz, just fold.......
Did I already tell you that the easuring you did before is the only measuring you will do in this project? Cool, right? 
After folding it your box should look like this: You must admit, it already looks like a caddy, right?
From now on things will only get easier. 
Now you need the lid to make the sides. Simply put the lid over the side (i did not take a photo of this but let me try to explain: The lid will have to stand up straight and cover the side of the caddy. It will look way to long...... 
Mark the side of the caddy on the box and do this for both sides. Cut the lid of the box. After cuttong your lid will look like this: 
Now attach your lid pieces to the caddy and tape it together. I used duck tape but I guess you can use packaging tape or any wide tape. As long as it sticks.
This is what your caddy will look like when it is unfolded. (that little foot you see is our little lady.....)
Next, fold the box over into a caddy shape and tape the bottom together so the caddy will remain a caddy no matter what.  
I simply put duck tape over the bottom sides so it also functions as a protector of the caddy.

And voila, you are done!!!!! This is the actual caddy aftyer 15 minutes of work. 
Now you can cover it with fabric, paper or even paint. You can make a handle in the top middle but I did not do that. 
I covered mine with double sided wrapping paper and now I need to find something to put in...... I had no special technique for covering it, I just made sure all sides could be covered by the paper and wrapped it like a gift. 
And yes, the paper does look wrinkly but that is just the Tacky Glue not being dry yet. I have had so many Tacky Glue expereience that I now know things will all look well in the end. They do.

I hope this all made sense. Please ask if you have any questions! Thanks for stopping by and have a great and creative week! 

Saturday, September 20, 2014

Let's Scrap weekly sketch

One of the great things about making the sketches for Let's Scrap is that you get to see what others make with your sketch. Every time I am inpressed with the creations. You should really hop over ot see what the design team did with my card sketch for this week. Check it out HERE.

And to make something with the prize I won at Su-perchallenges I started this card. Love this patterned paper. My prize came also with the prettiest ribbon and one of the awesome Stampin' Up ink pads. 

I also played with my new set of Sizzix Framelits. They made a great set where Jillibean Soup did the design, Sizzix the dies and Hampton Art the stamps. A great conbination of design and craftmanship for sure. Really really cool set I have to say......
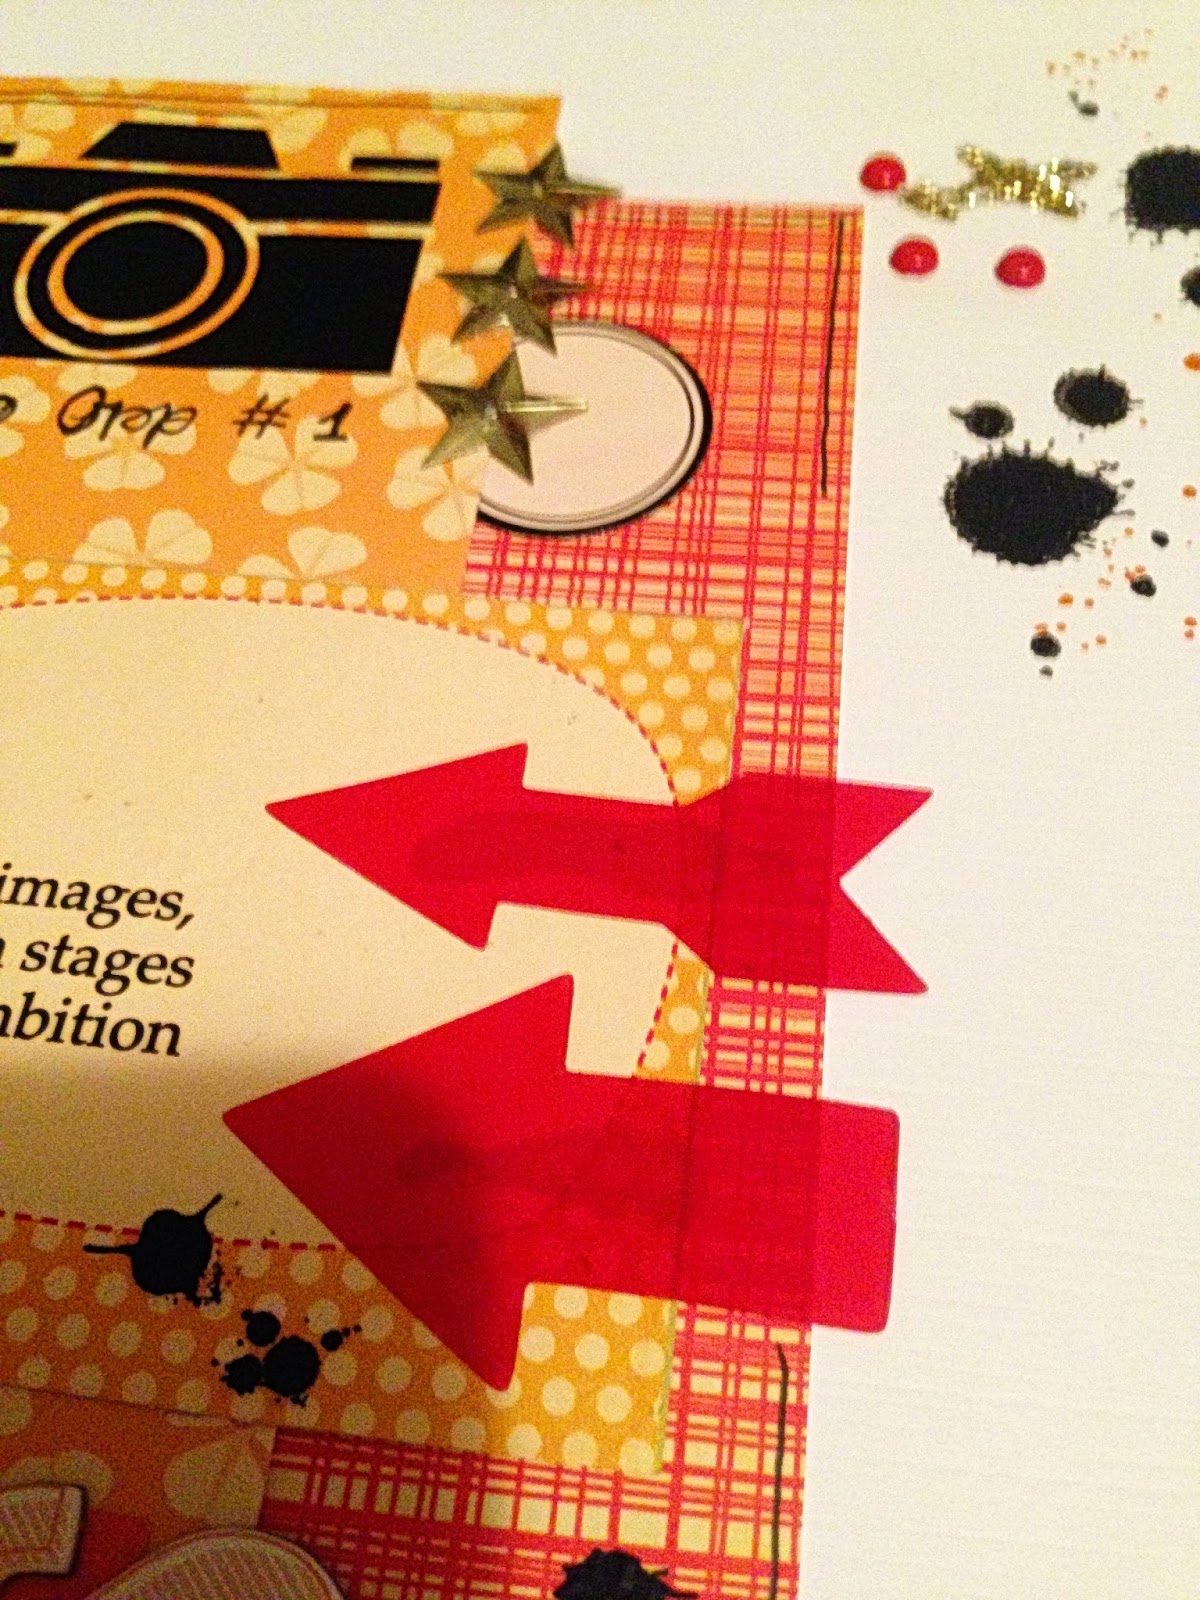
So I used this weeks sketch at Let's Scrap and this is what I came up with:


CS: Bazzill
Stamps: Sizzix Framelits (Hampton Art, Jillibean Soup)
Ink: Colorbox
Transparency: Studio Calico

 And again I did not wait for my Tacky Glue to dry. and again: Yes, it dries clear ;) 
The sentiment, small stars and the arrow came from the Sizzix set, the bigger star in the circle is a regular stamp from Studio Calico that I punched out with a circle punch.

Thanks for popping by and have a great weekend! 

Sunday, September 14, 2014

For a good friend

Sometimes a card does means so much more than a text message or something. This weekend I found a friend that really deserved a card. Sometimes one jsut needs help and then it arrives from a total unexpected area. Well, that deserved a card. And this is what I came up with. 
I do not have a whole lot of inks so this is a combination of StazOn, Distress Ink and Colorbox pigment ink. But I do have twine, lots of twine...................... I could have wrapped the whole card in twine if I wanted to.


CS: Bazzill
Misc: twine


I am going ot have a busy week but hopefully will be able to some scrapping. Have a great week and thanks for dropping by!